How To Factory-Seal A Deck At Home
By Ben Harris - Wednesday, May 18, 2022
There are several reasons why you may want to seal a deck of cards in cellophane. These can include: replacing a damaged cello-wrap, replacing a cello-bag that some of the expensive decks come supplied in (thus making it easier to store and display with the rest of your collection), and resealing a specially prepared deck for performance.
The procedure is simple, but will require a little practice. The finished result (apart from the lack of a tearing-ribbon) is identical to that which comes out of the factory.
You will require some cellophane and an iron that can be turned down to a low-heat setting. This is normally listed as a “low,” minimum,” or “synthetics” setting on the dial. Surprisingly, a regular iron like this is easier to use than the flat-bed devices that are occasionally marketed.
Why? Two reasons:
Firstly, the hot surface is facing you. It is easy to access and, importantly, your fingers can easily be moved free from the heat. Pressing the deck against an upright surface that’s facing you is easier than having to twist the hands in order to press it down onto the flat surface of a commercial device.
Secondly, the iron has a pointy tip. This feature allows you to start the process of sealing the deck while keeping your fingers well clear of the iron’s hot surface. In operation, the deck is slid from this pointy tip, down the surface of the hotplate, to the wider part of the iron. It’s one smooth action (with plenty of room to retract your fingers). More on this when we get to the nitty-gritty.
You must use cellophane! Do not attempt this with plastic of any kind. You will make a molten mess, a nasty smell, and possibly ruin your iron. Cellophane is made from cellulose. Regular plastic film is made from petrochemicals. You can easily tell the two apart with the following burn test:
Grab a small (one inch) strip of cellophane, a tweezer, a cigarette lighter and a metal lid from a small jar. Go outside for safety. Using the tweezer, hold the small square of cello over the inverted jar lid. Then, apply a flame to one corner. Cellophane will curl up into a fuzzy little ball—retracting from the heat. Plastic, on the other hand, will melt into a stinky and smoking blob.
Obtaining Cellophane
Cellophane was created back in the 1920s for wrapping candy. And, it’s still used for that purpose today. Your most cost-effective way to obtain cellophane is by purchasing candy bags from confectionary supply stores. You’ll need bags of the size that you can cut a 180 X 120mm panel from. This is the size that you’ll need to reseal a standard Poker-sized deck. You can grab a bunch of bags for just a few dollars. The size I purchase allows four such panels to be cut from each bag.
Here’s how to cello your own cards:
For the purposes of making the procedure clear (excuse the pun), I’ve used white paper in place of cellophane.
1. Cut a piece of cellophane to the size 180 X 120mm.
2. Place your iron on a stable surface and pre-heat the iron to its lowest temperature.
3. Centre the deck on the cellophane and line up one long edge with the long edge farthest from you, Photo 1.
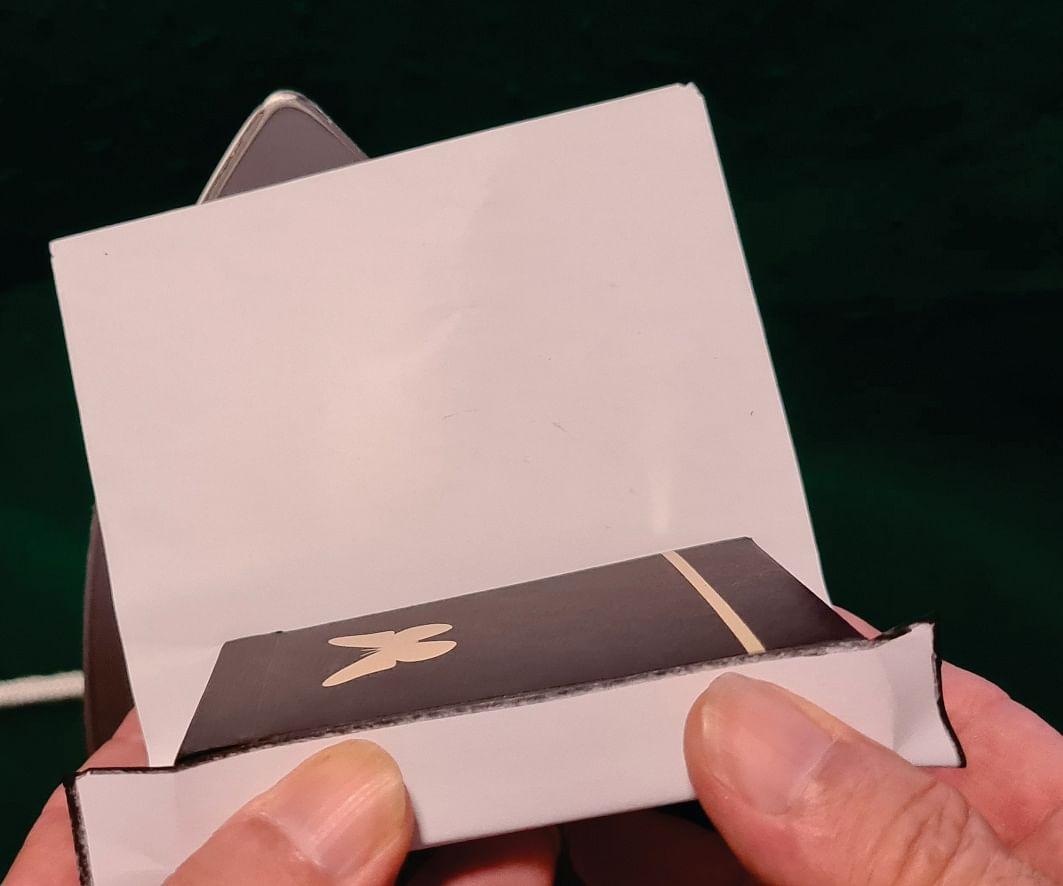 Photo 1
4. Wrap the cellophane towards yourself so that the second long edge is closet to you, Photo 2.
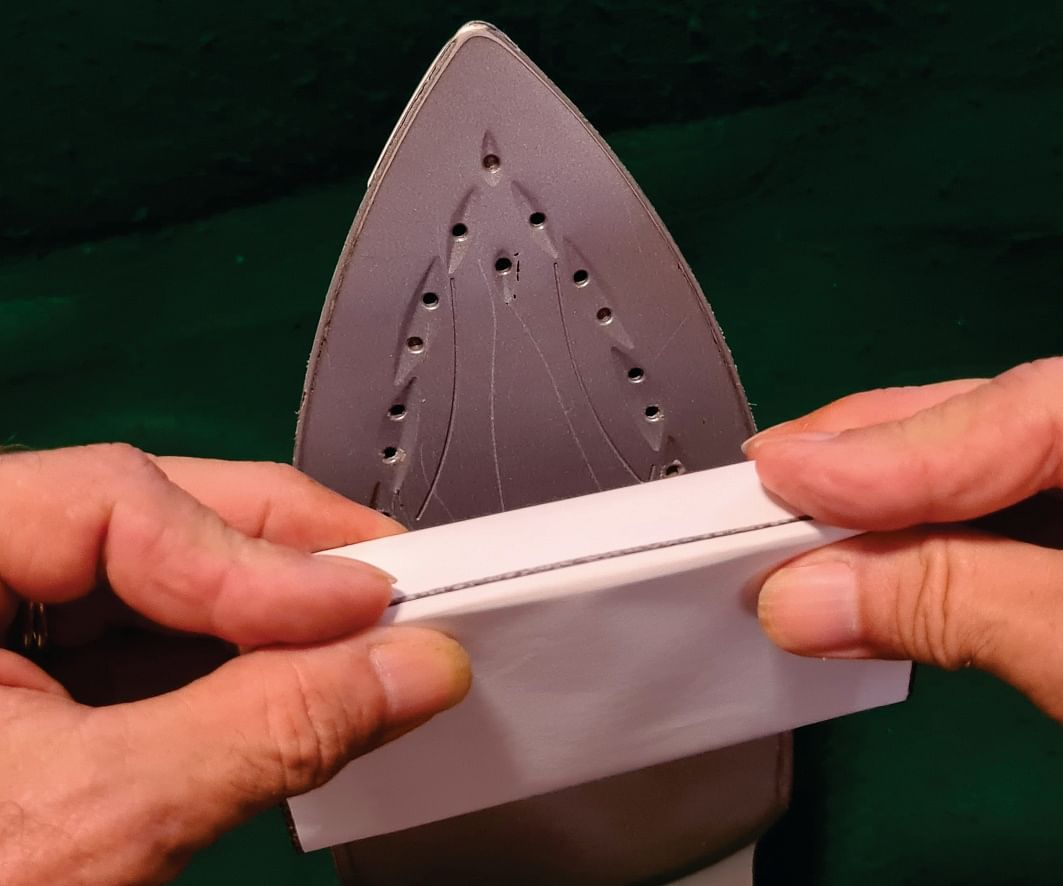 Photo 2
5. Hold the edges closed flat and move your forefingers to the side, Photo 3.
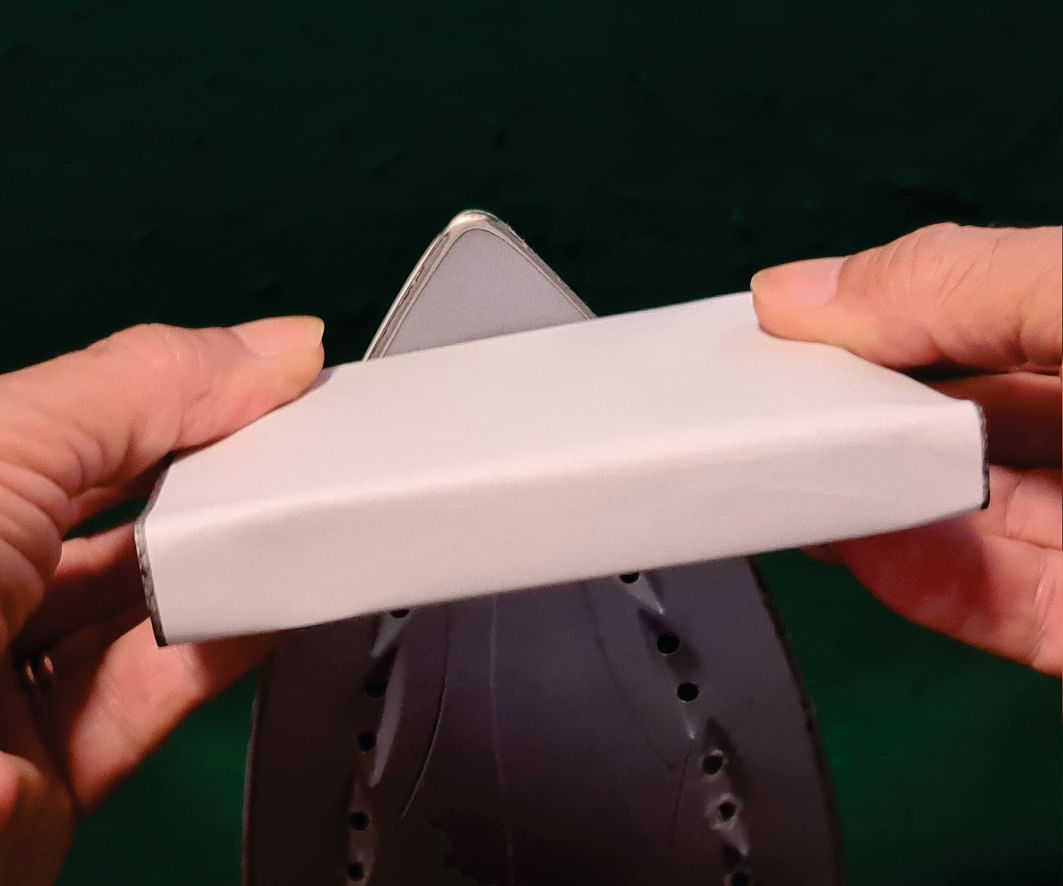 Photo 3
6. Lightly press this long edge of the deck to the iron’s pre-heated pointy crown, Photo 4.
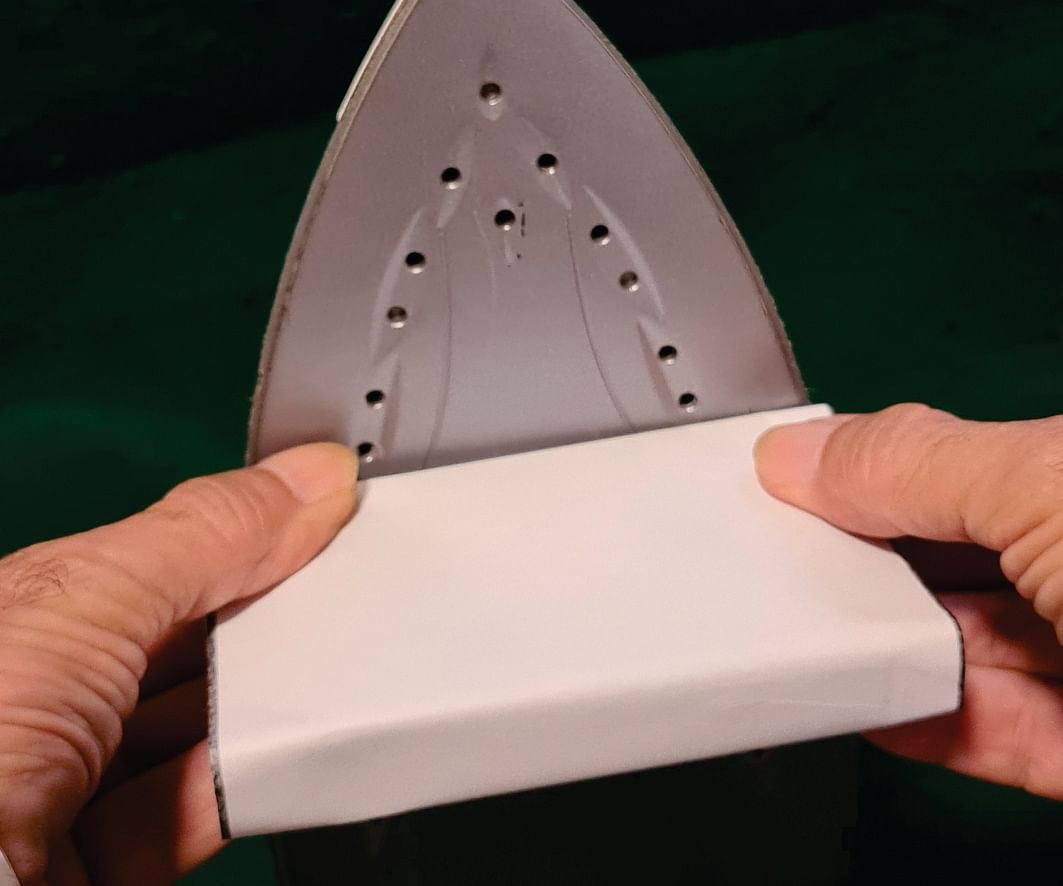 Photo 4
Immediately retract your fingers and then slide the deck down to the middle of the iron, maintaining a gentle pressure throughout, Photo 5.
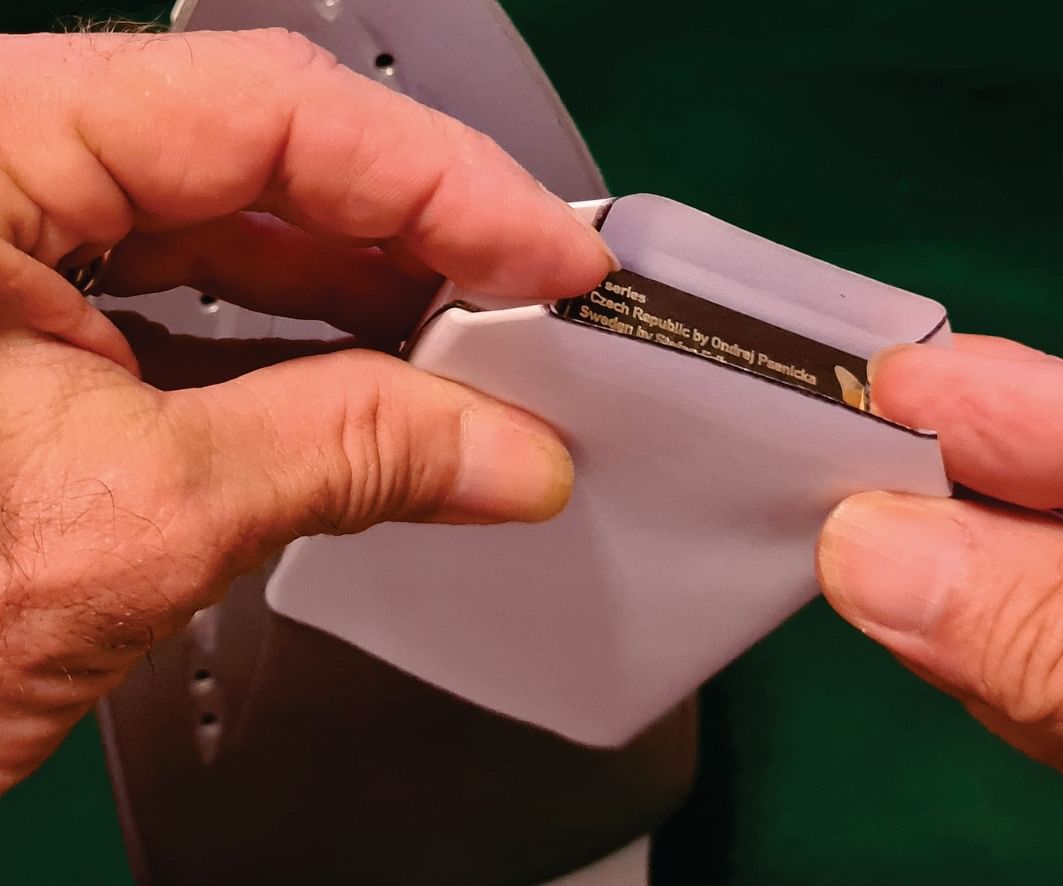 Photo 5
That’s your first long edge sealed. It should not take any more than one swipe. If it has not sealed, then you will need to turn your iron’s heat setting up a tad (or hold the deck to the hotplate for a little longer).
7. Turn the deck so that either the top or bottom short end is facing you. Push the sides of cello in with the fingers, then fold the longer edges over onto all. Photos 6, 7 and 8. Seal the cellophane with the iron by repeating Step 6.
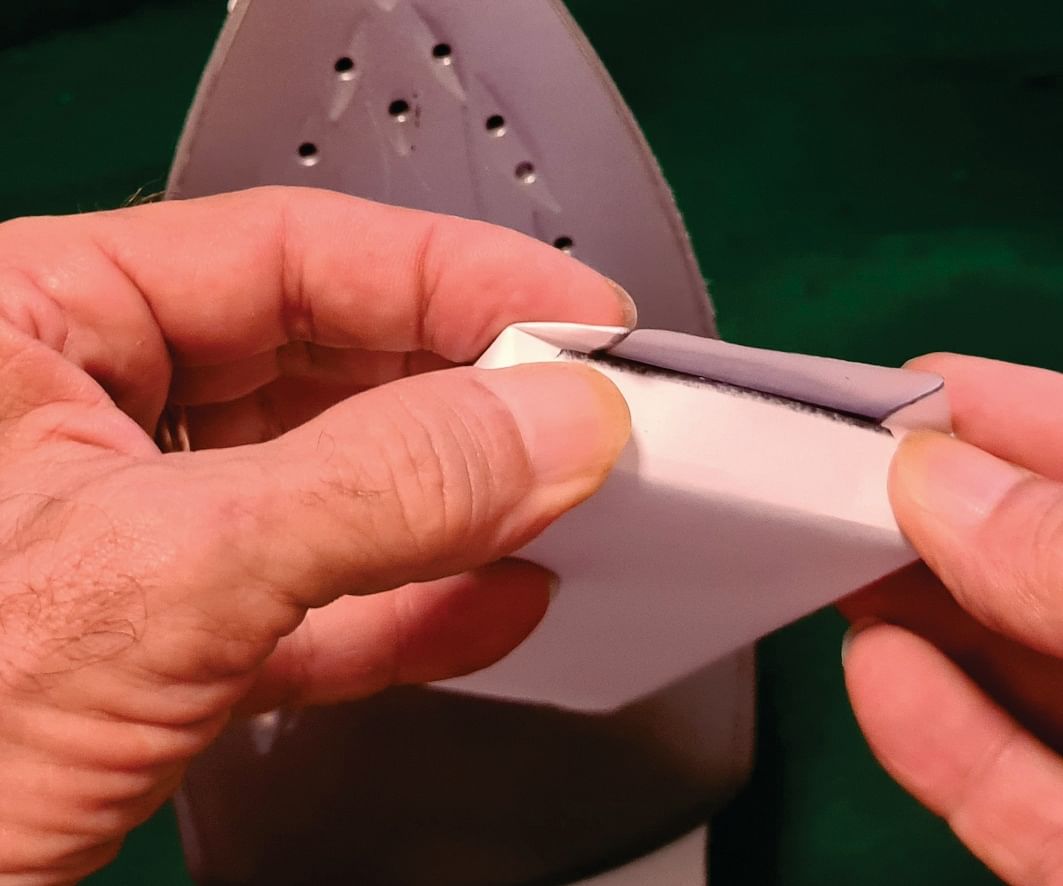 Photo 6
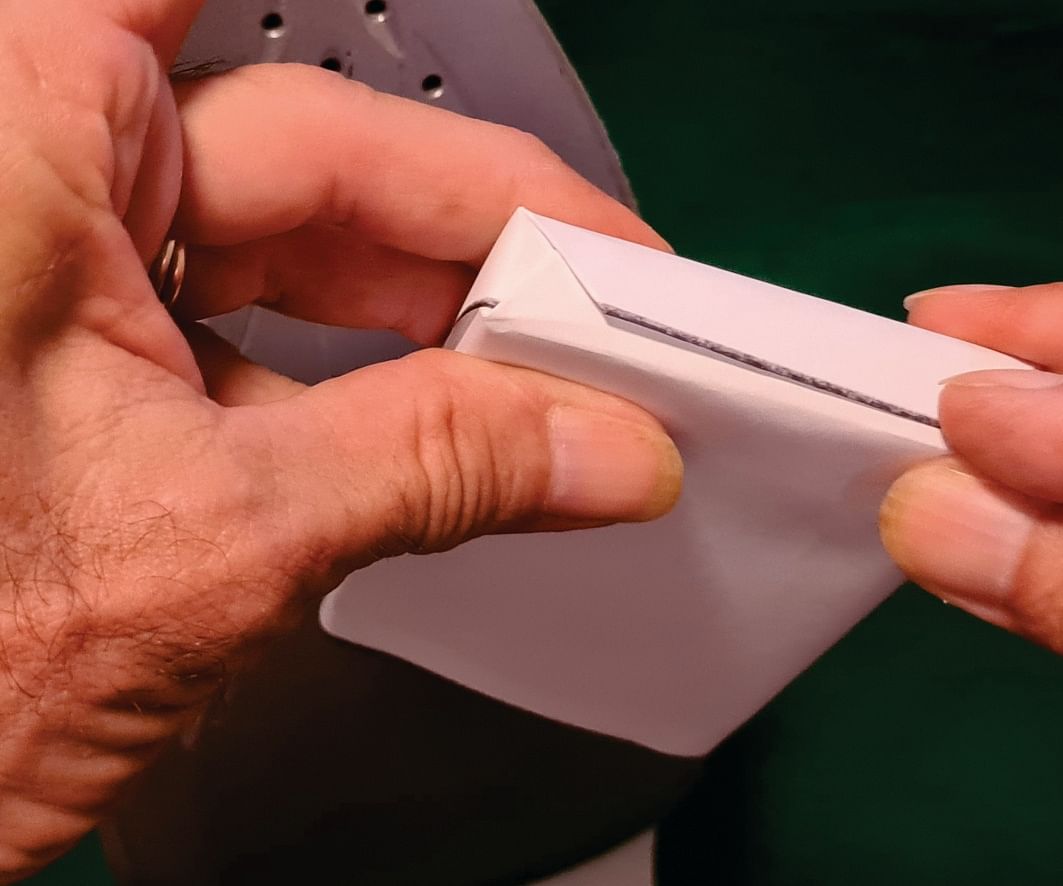 Photo 7
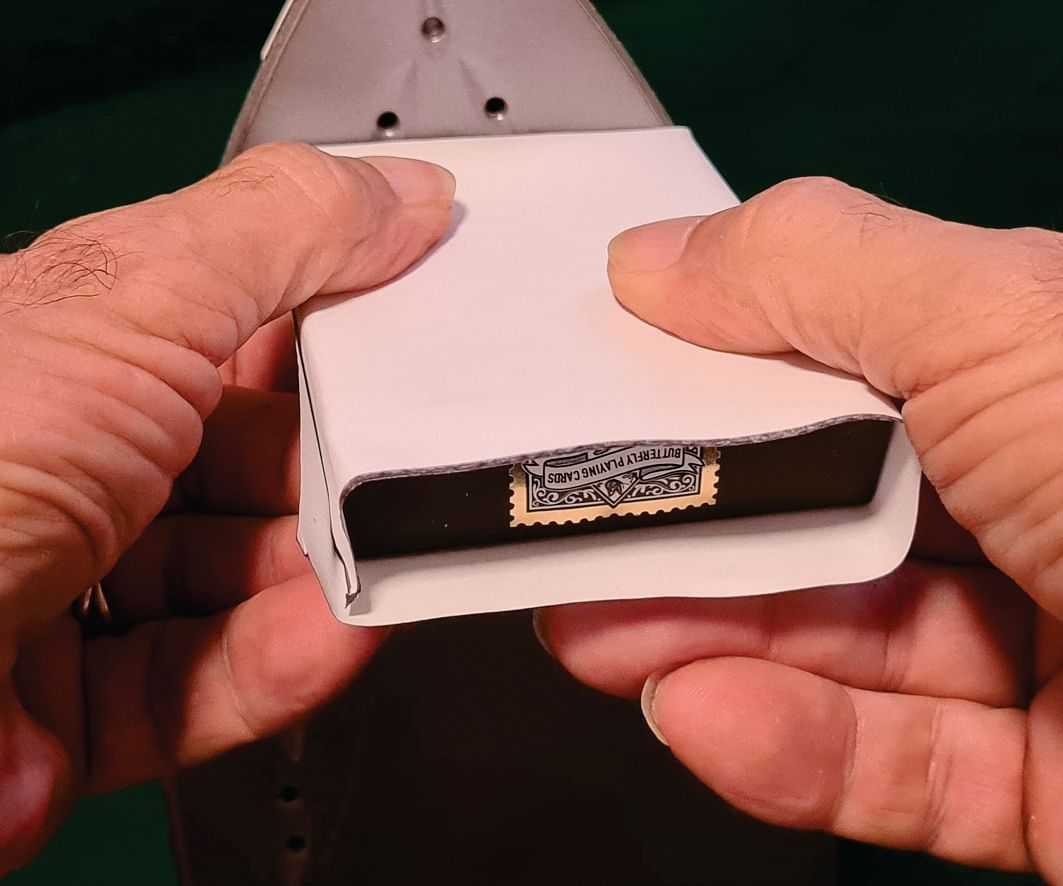 Photo 8
8. To complete, repeat all parts of Step 7 to seal the opposing short end of the box.
It’s all quite easy, your only variant being temperature. All irons are different. If you are not getting a good seal, try holding the work to the iron for a little longer, or turning the heat up a little. On the other hand, if you feel the temperature of your iron is too hot and you can’t turn it down any lower, then turn it off. Allow it to cool a little before proceeding.
With practice you can seal ten decks a minute.
So, whether you want to replace the torn cello on a prized deck, or set up a special deck that you can present as “factory sealed,” you are now set. The problem can be ironed out!
My new book is just around the corner. Keep your eye on Vanishing Inc’s notifications and my contacts below:
Back to blog homepage
Similar posts on the blog: